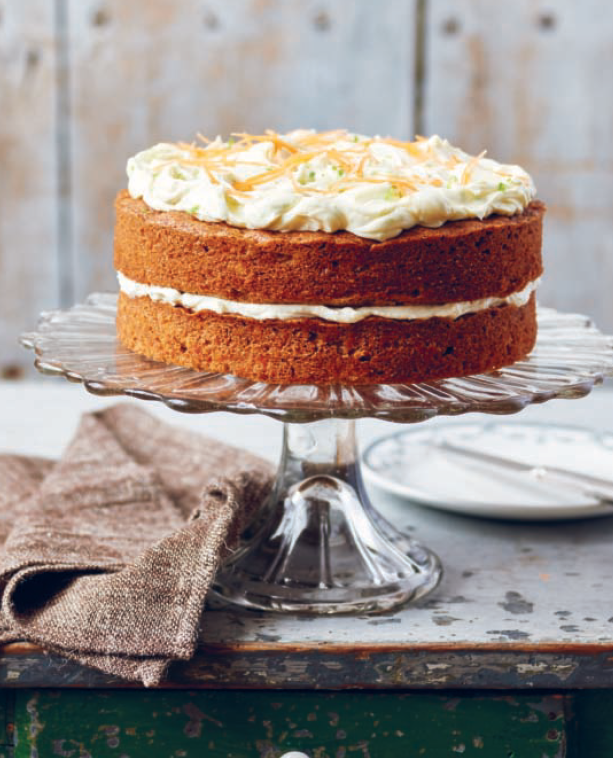
Danish layers cake – Lagkage
Danish layers cake (Lagkage) is the star of birthdays, anniversaries, coffee gatherings, and any excuse you can find. Lagkage come in all varieties, from simple homemade versions to the intricate creations in bakeries. The options for fillings and toppings are endless, so here we are sharing some basics.The LayersA traditional Danish lagkage typically has 3 layers of sponge cake. Most people prefer the convenience of pre-made layers, which you can find in our shop here to make things easier. If you’re making your own, check out the recipe below—no special pans required; just trace on baking paper.The FillingPastry cream (Kagecreme) is the go-to filling. You can make it from scratch with our recipe here or use an instant mix (can be bought here), which is just as delicious and quick. Some like to add cocoa powder for a chocolatey twist.FruitAdding fresh berries or fruit is popular, with strawberries and raspberries being top choices. For a kid’s birthday cake, sliced banana is a favorite addition.DecoratingFor a classic look, assemble the layers and top with a light icing made from powdered sugar and a little hot water. For chocolate lovers, a ganache or chocolate icing works beautifully. Many decorate with piped whipped cream around the edges, though leaving the sides “naked” is also common.
Servings: 3 layers
Ingredients
Instructions
- Preheat the oven to 180°C (350°F) Gas 4.
- Beat together the eggs and sugar on high speed in a stand mixer or using a hand-held electric whisk. Beat until the mixture reaches ribbon stage – you will be able to see the traces of the mixture when you move the whisk – and the traces should stay for a good 6-7 seconds. This can take up to 5-7 minutes – the mixture will almost triple in volume.
- Combine the flour, salt and vanilla in a separate bowl. Sift into the egg mixture, bit by bit, carefully folding using a figure-of-eight movement until incorporated. Pour the cooled melted butter down the side of the bowl and fold carefully again, trying not to knock out air. This is really important – if you knock out the air, your layers will not rise.
- Divide the mixture evenly between the parchment circles on the baking sheets spreading right to the edges of each circle with the back of a spoon. If they go over a bit, don’t worry, you can cut these bits off afterwards.
- Bake in the preheated oven for about 5–7 minutes or until light golden brown
- Remove from the oven and allow to cool completely before removing the baking parchment. If the parchment sticks, slightly dampen the paper side with cold water and the paper will come off easily. Trim any untidy edges using a sharp knife.
Equipment
- 3 baking sheets greased and lined with baking parchment. Use a 20-cm/8-inch diameter plate to draw three circles on the baking parchment. Use a pencil.
Notes
If you want to secure a rise and feel nervous about the rise, add 1 teaspoon to the flour for a slight lift.